


How to Host a Unity Game in a Hugging Face Space: A Step-by-Step Guide
Did you know that you can host a Unity game in a Hugging Face Space? While Hugging Face Spaces are primarily known for showcasing machine learning demos, they also provide a fantastic platform for hosting playable Unity games. In this guide, you will learn how to create your own Space and deploy your Unity game quickly and easily.
- Step 1: Create a Space Using the Static HTML Template
- Step 2: Use Git to Clone the Space
- Step 3: Open Your Unity Project
- Step 4: Switch the Build Target to WebGL
- Step 5: Open Player Settings
- Step 6: Optionally, Download the Hugging Face Unity WebGL Template
- Step 7: Change the Compression Format to Disabled
- Step 8: Build Your Project
- Step 9: Copy the Contents of the Build Folder
- Step 10: Enable Git-LFS for Large File Storage
- Step 11: Push Your Changes
- Done!
Step 1: Create a Space Using the Static HTML Template
To get started, navigate to Hugging Face Spaces. Once there, click on the "Create a Space" button. When prompted, select the "Static HTML" template, give your Space a catchy name, and hit the create button. This template sets up a simple HTML environment that will allow you to host your game effectively.
Step 2: Use Git to Clone the Space
Next, you need to clone your newly created Space to your local machine. Open your terminal or command prompt and run the following command, replacing {your-username} and {your-space-name} with your actual Hugging Face username and Space name:
git clone https://huggingface.co/spaces/{your-username}/{your-space-name}This command will create a local copy of your Space where you can add your Unity project files.
Step 3: Open Your Unity Project
Now it’s time to open your Unity project that you want to host. Ensure that you have Unity installed on your computer, and launch the application. If you don’t have a project ready, you can create a new one or use an existing project.
More Read

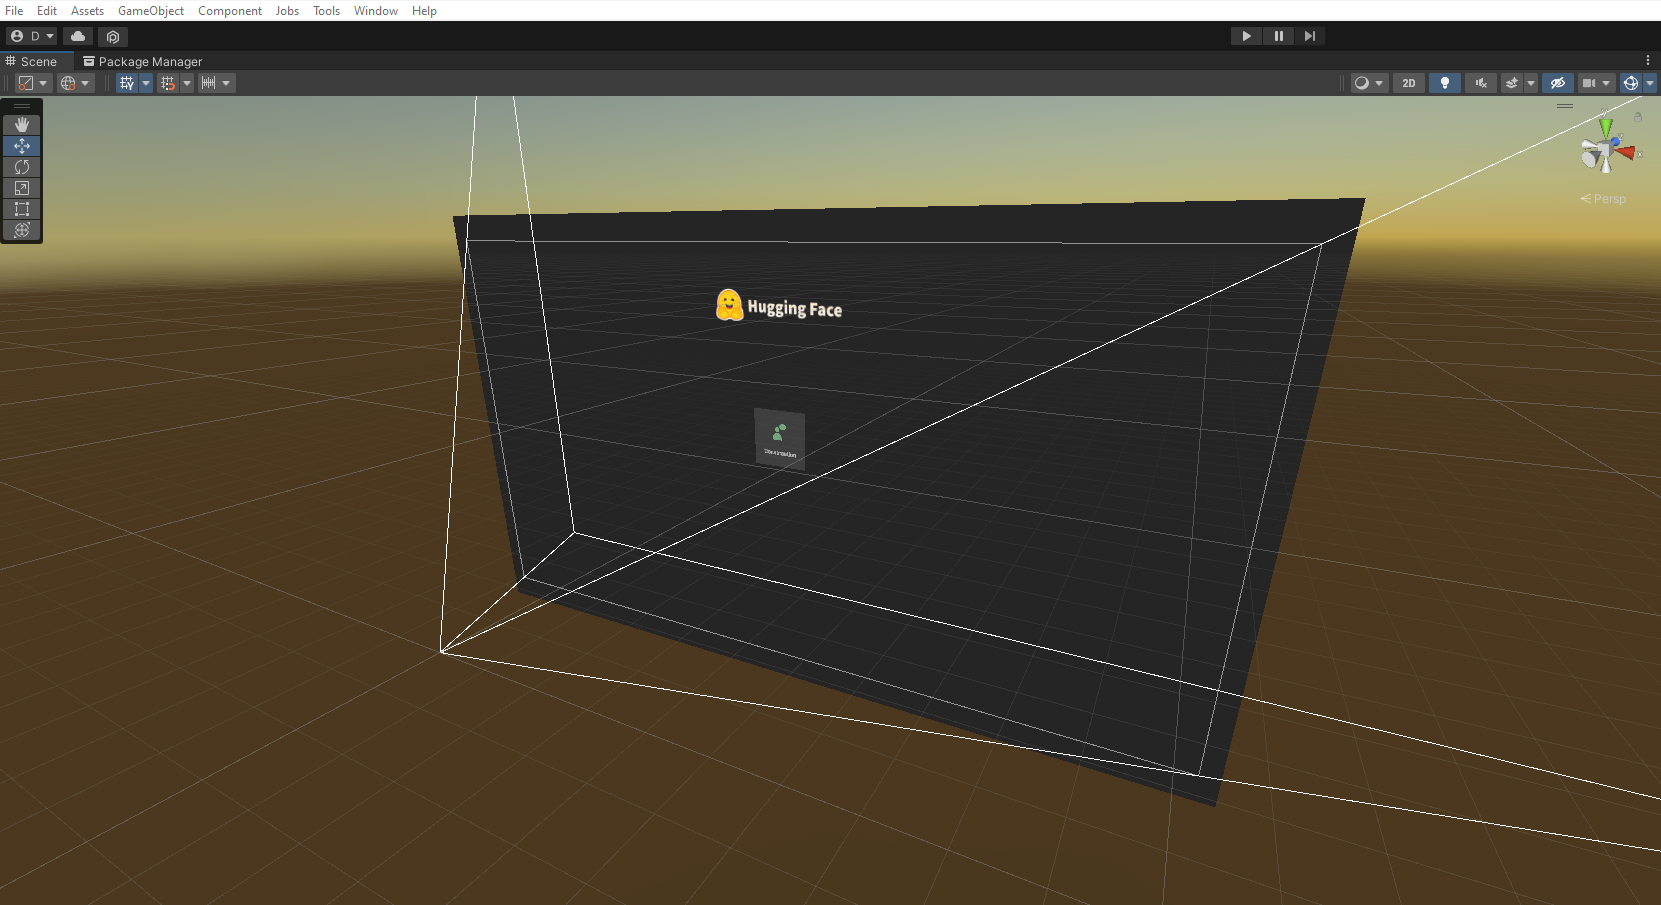
Step 4: Switch the Build Target to WebGL
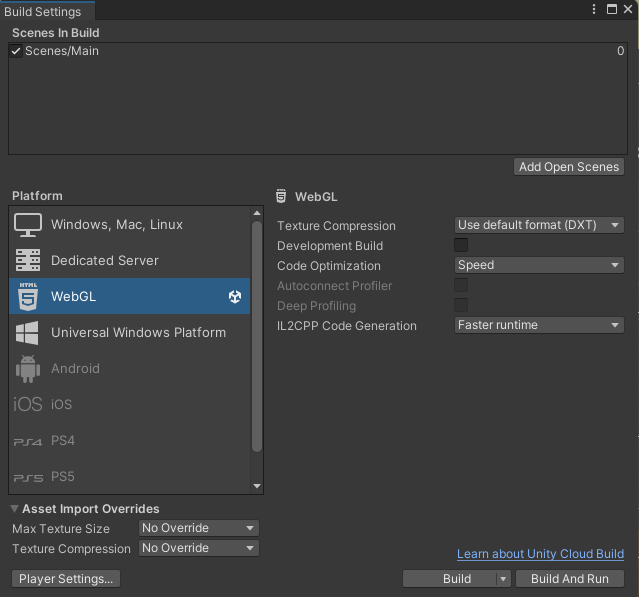
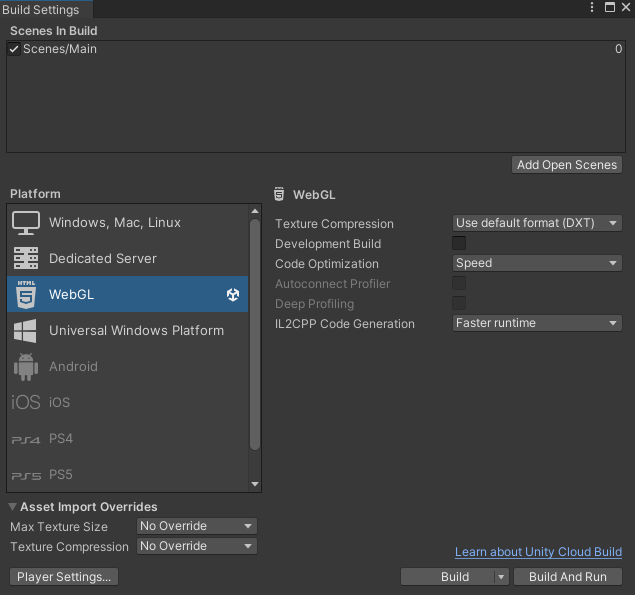
To make your Unity game playable in a web browser, you need to switch the build target to WebGL. Go to the menu and select File > Build Settings. In the Build Settings window, choose WebGL from the list of platforms, and click the “Switch Platform” button.
Step 5: Open Player Settings
With the build target set to WebGL, it’s essential to adjust some settings for optimal performance. In the same Build Settings window, click the “Player Settings” button. This action will open the Player Settings panel, where you can customize various options for your game’s build.
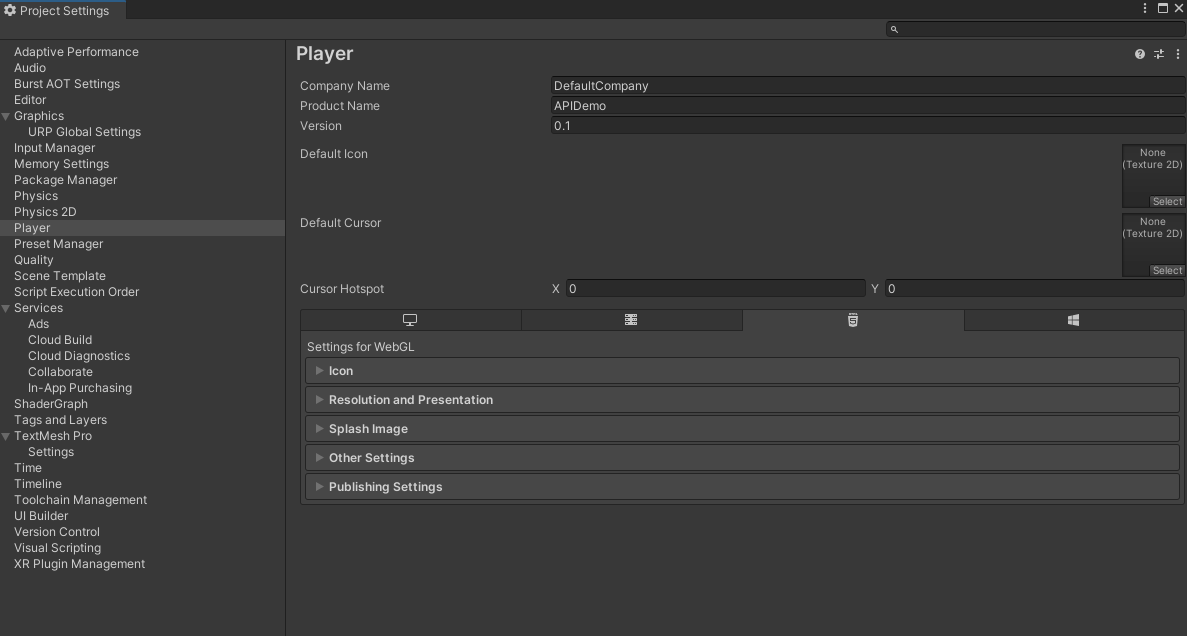
Step 6: Optionally, Download the Hugging Face Unity WebGL Template
For a more polished appearance, consider downloading the Hugging Face Unity WebGL template. You can find it in the Hugging Face repositories. Once downloaded, drop it into your Unity project files. In the Player Settings panel, navigate to the "Resolution and Presentation" section and select the Hugging Face WebGL template.
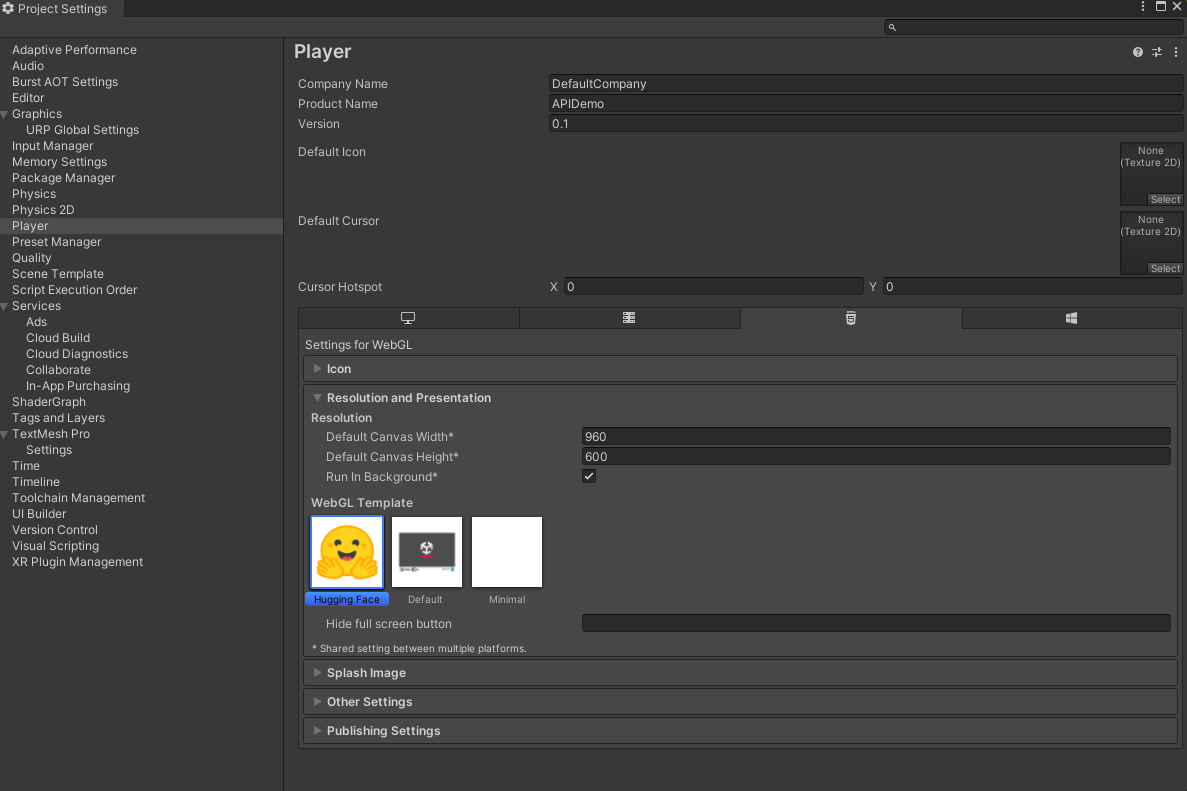
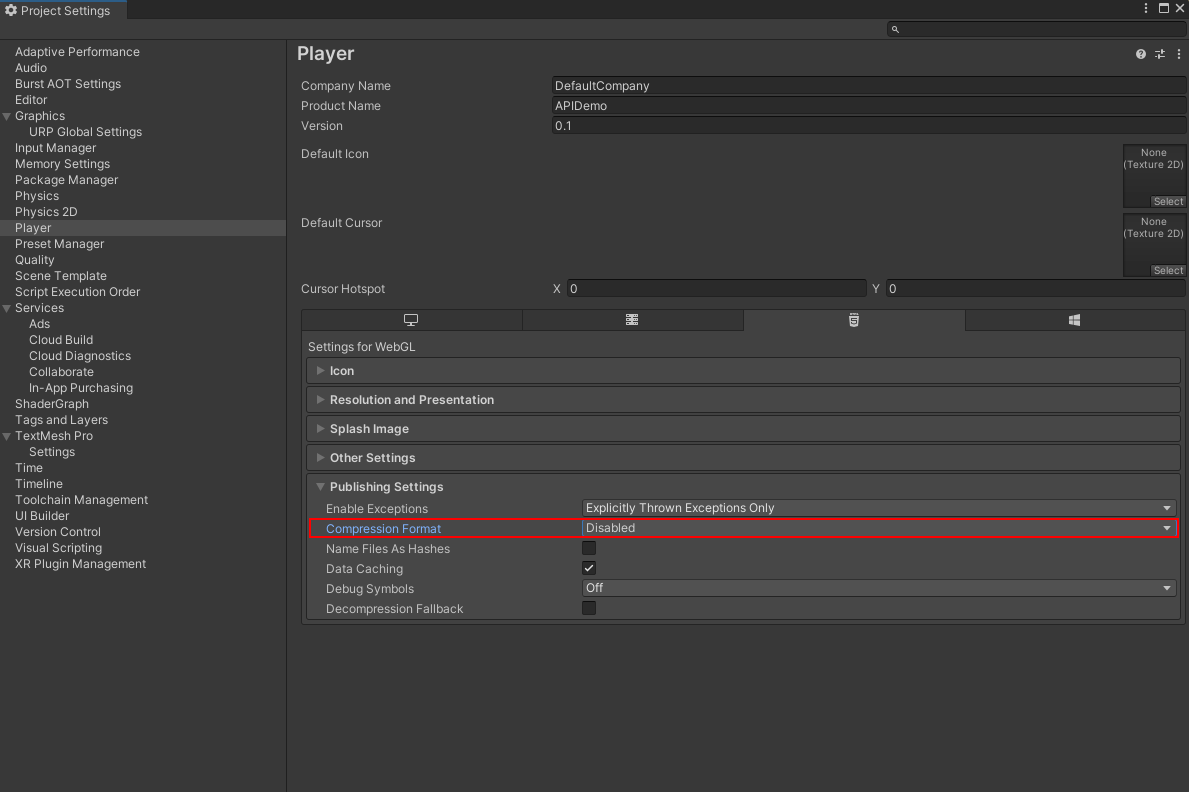
Step 7: Change the Compression Format to Disabled
In the Player Settings panel, locate the "Publishing Settings" section. Here, ensure that the Compression Format is set to "Disabled." This step is crucial as it prevents issues when your game is loading in a web browser.
Step 8: Build Your Project
Once you’ve configured your Player Settings, return to the Build Settings window and click the "Build" button. Choose a location to save your build files, and Unity will compile your project for WebGL.
Step 9: Copy the Contents of the Build Folder
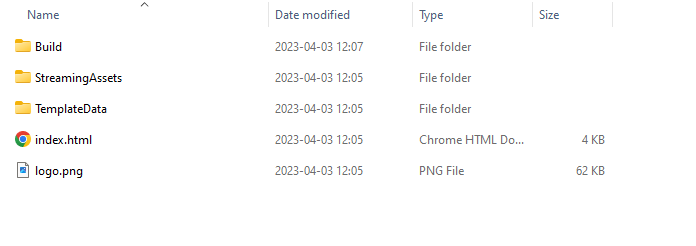
After the build process completes, navigate to the folder where your build files are stored. Copy all contents of the build folder and paste them into the repository you cloned in Step 2. This transfer is necessary for your game to run smoothly in the Hugging Face Space.
Step 10: Enable Git-LFS for Large File Storage
If your game includes large assets, you need to enable Git Large File Storage (LFS) in your repository. Open your terminal and run the following commands:
git lfs install
git lfs track Build/*
This command allows you to track large files, ensuring that your game assets are stored correctly without issues.
Step 11: Push Your Changes
Finally, it’s time to upload your changes back to Hugging Face. In your terminal, execute the following commands:
git add .
git commit -m "Add Unity WebGL build files"
git push
This process will push all your project files to the Hugging Face Space.
Done!
Congratulations! After refreshing your Space, you should be able to play your game directly in the Hugging Face environment. This platform not only showcases your game but also allows you to share it easily with others. If you’re excited about using Hugging Face for game development, consider joining the Hugging Face Discord for more tips and community support!
Inspired by: Source


